Introduction
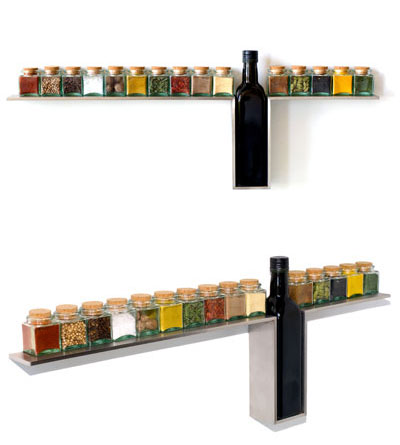
If you're a cooking enthusiast, you know the importance of having a well-organized spice collection. Not only does it make cooking easier, but it also saves you time when searching for the right spice. A wooden spice rack is a great addition to any kitchen and can be a fun DIY project to tackle. In this guide, we'll show you step-by-step how to build your own wooden spice rack.
Materials
- 1x4 pine boards
- Saw
- Drill
- Screws
- Sandpaper
- Wood glue
- Stain or paint
Instructions
- Cut the 1x4 boards into the desired lengths for your spice rack. This will depend on how many spices you want to store and the space you have available in your kitchen.
- Next, cut notches into the boards to hold the spice jars. These notches should be slightly wider than the diameter of your spice jars.
- Drill pilot holes into the boards where you will attach them to the wall.
- Sand the boards to smooth out any rough edges.
- Assemble the spice rack using wood glue and screws.
- Apply the stain or paint of your choice and let it dry completely.
- Mount the spice rack to the wall using the pilot holes you drilled in step 3.
- Fill the spice rack with your favorite spices and enjoy your new organized kitchen!
Conclusion
Building a wooden spice rack is a simple and satisfying DIY project that can make a big difference in your kitchen. With just a few basic tools and materials, you can create a functional and stylish spice rack that will keep your spices organized and easily accessible. Follow these instructions and you'll have your own wooden spice rack in no time!


